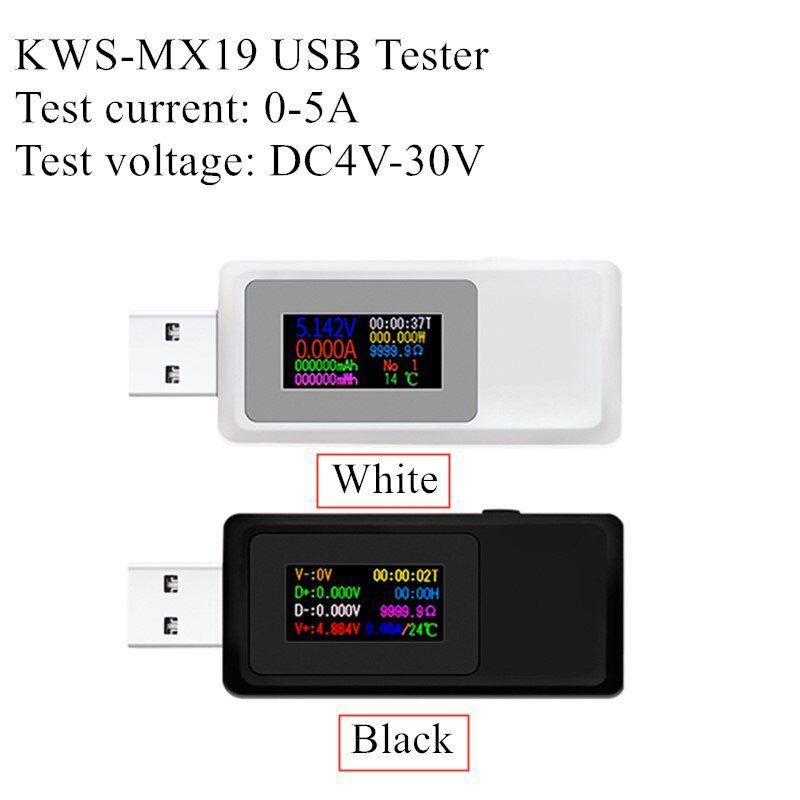
KWS-MX19 USB Tester DC 4V-30V 0-5A Current Voltage Meter Timing Ammeter Digital Monitor Cut-off Power Indicator Bank Charger
KWS-MX19 USB Tester DC 4V-30V 0-5A Current Voltage Meter Timing Ammeter Digital Monitor Cut-off Power Indicator Bank Charger
UKOBD2 Provide top quality KWS-MX19 USB Tester DC 4V-30V 0-5A Current Voltage Meter Timing Ammeter Digital Monitor Cut-off Power Indicator Bank Charger, if you need KWS-MX19 USB Tester DC 4V-30V 0-5A Current Voltage Meter Timing Ammeter Digital Monitor Cut-off Power Indicator Bank Charger, or have any questions about KWS-MX19 USB Tester DC 4V-30V 0-5A Current Voltage Meter Timing Ammeter Digital Monitor Cut-off Power Indicator Bank Charger, welcome to contact us.
Wholesale Top quality VAS6154, GM Tech2, VCM II For Ford, Porsche Piwis III, USB Link 2, Scania VCI3, CAN Clip, wiTech MicroPod 2, T300 key programmer, locksmith tools
images of KWS-MX19 USB Tester DC 4V-30V 0-5A Current Voltage Meter Timing Ammeter Digital Monitor Cut-off Power Indicator Bank Charger


USB Tester DC 4V-30V 0-5A Current Voltage Meter Timing Ammeter Digital Monitor Cut-off Power Indicator Bank Charger
Product Parameters:
1. Voltage: DC 4V-30V (Overvoltage protection can be set.)
2. Current: 0-5.5A (Overcurrent protection can be set.)
3. Power: 0-150W
4. Electricity: 0-99999mAh
5. Energy: 0-999.9mWh
6. Timing: 0-99hours
7. Countdown: 0-24hours
8. Charging resistance: 0-999.99Ω
9. Current/Temperature
10. Data output voltage
11. Supply voltage
Features:
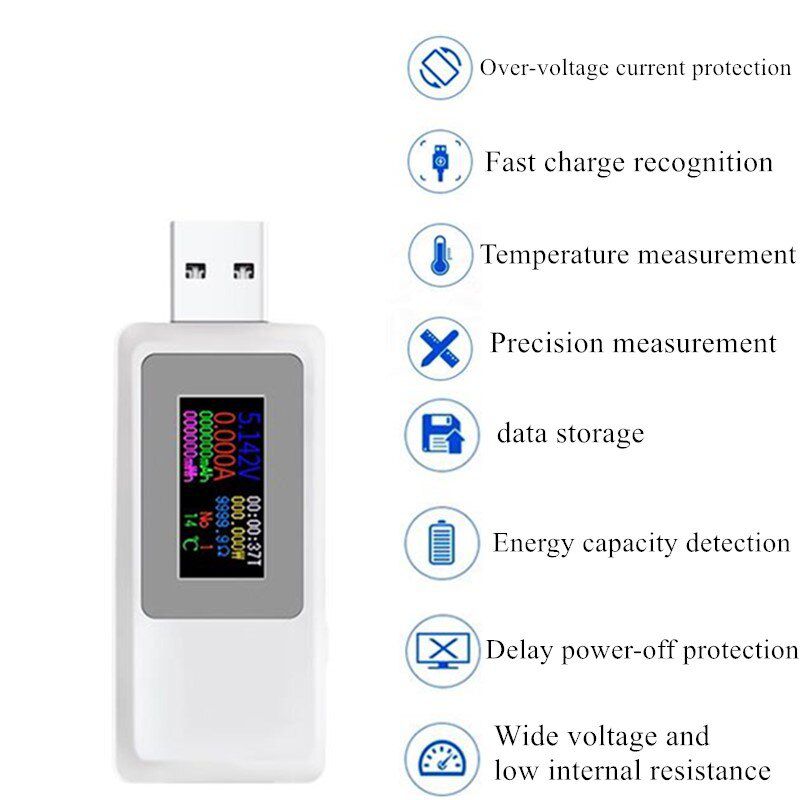
1. Timed shutdown setting
Keep clicking the button until the screen display is shown on the right. Then long press the button for 3 seconds, the number on the screen will flash. Click the button again to increase 30 minutes delay shutdown. Then long press the button for 3 seconds to save your settings.
2. Overvoltage protection setting
Keep clicking the button until the screen display is shown on the right. Then long press the button for 3 seconds, the number on the screen will flash. Click the button again to increase 0.5 volts. Then long press the button for 3 seconds to save your settings.
3. Overcurrent protection setting
Keep clicking the button until the screen display is shown on the right. Then long press the button for 3 seconds, the number on the screen will flash. Click the button again to increase 0.5A current. Then long press the button for 3 seconds to save your settings.
4. When back to the main page, long press the button for 3 seconds to clear saved data of cumulative working time, electricity and energy.
5. Current and voltage calibration method :
Please use 5.000V standard voltage . Hold the button until “Factory setting”appear on the LED screen . It will calibrate automaticly.
Notes:
-If any tester you bought from our store can’t display the correct parameters while testing your devices, please feel free to contact us firstly and we will provide quick respond and offer you good solution.
-Do not connect the product with any load when calibration !
Package Inclusions:
